Dynamic Fields Configuration
The correct configuration of dynamic fields will allow users to see more information about reservations on the ticket view.
Creating a hyperlink for ReservationID dynamic field
Open the Admin dropdown menu and pick Overview.

Go to Dynamic Fields in Processes & Automation section
Click on the ReservationID row in the list
Add the URL for reservation in Show link field
Example: https://example.com/roomReservations/Dashboard?reservationId=[% Data.ReservationID | uri %]&sessionId=[% Env("SessionID") %]
Click Save and finish.

Adding dynamic fields visibility to Ticket view
Open the Admin dropdown menu and pick System Configuration.
In the search bar type AgentTicketZoom###DynamicField and click Enter.
We recommend setting visibility for the following dynamic fields:
- ReservationID
- ReservationAdditionalDescription
- ReservationNumberOfPeople
- ReservationIsManagerPresent
1. Add new entry by clicking the Plus sign.
2. Enter Dynamic Field Name (e.g. ReservationID) and enable it.
3. Repeat this process for other fields
Save the settings by clicking checkmark.

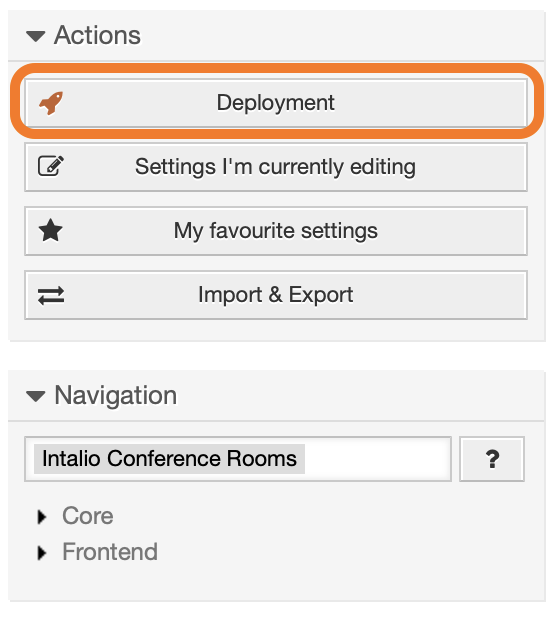
Settings deployment
Every changes in OTRS configuration needs to be deployed.
If you have undeployed settings you should see a yellow bar under the main menu. Click it and you will be forwarded to the deyployment page.
![]()
If you don't see a yellow bar go to the Admin / System configuration / Deployment.
Check out the settings that you want to deploy (checked by default) and click Deploy selected changes

Write a comment about the changes that you made and click Deploy now.
From now on, information saved in the added dynamic fields will be visible in the ticket, in the "Ticket details".