Instalation or update
It is necessary to have ZI-LicenseSystem already installed in the system prior to installation any other ZI-* zimlet. Check here: ZI-LicenseSystem - Installation or update
Download the newest version of the zimlet package from https://www.intalio.pl/en/zi-access-downloads and unpack it in /tmp (as root):
cd /tmp
wget https://www.intalio.pl/sites/default/files/modules-files/zi-access-1.9-zimbra9.tar_.gz
tar xvzf zi-access-1.9-zimbra9.tar_.gz
Run installation script (as root):
cd ./ZI-Access-1.9-Zimbra9/
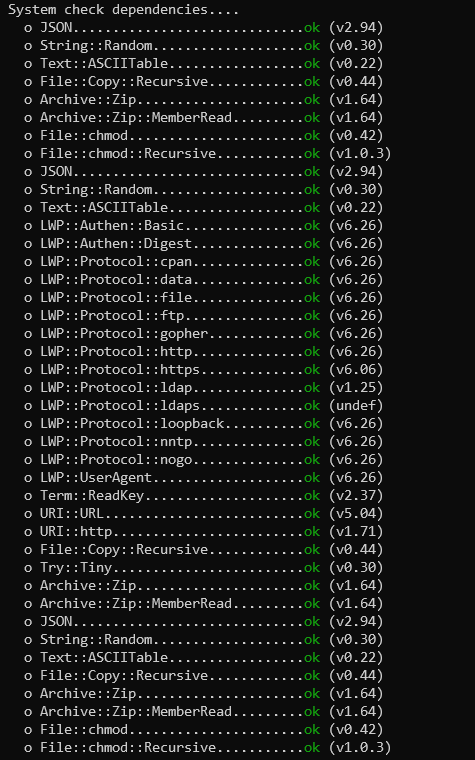
perl ./ZI-Installer --install-depsAt the beginning required perl packages will be installed if they are not available in the system already:
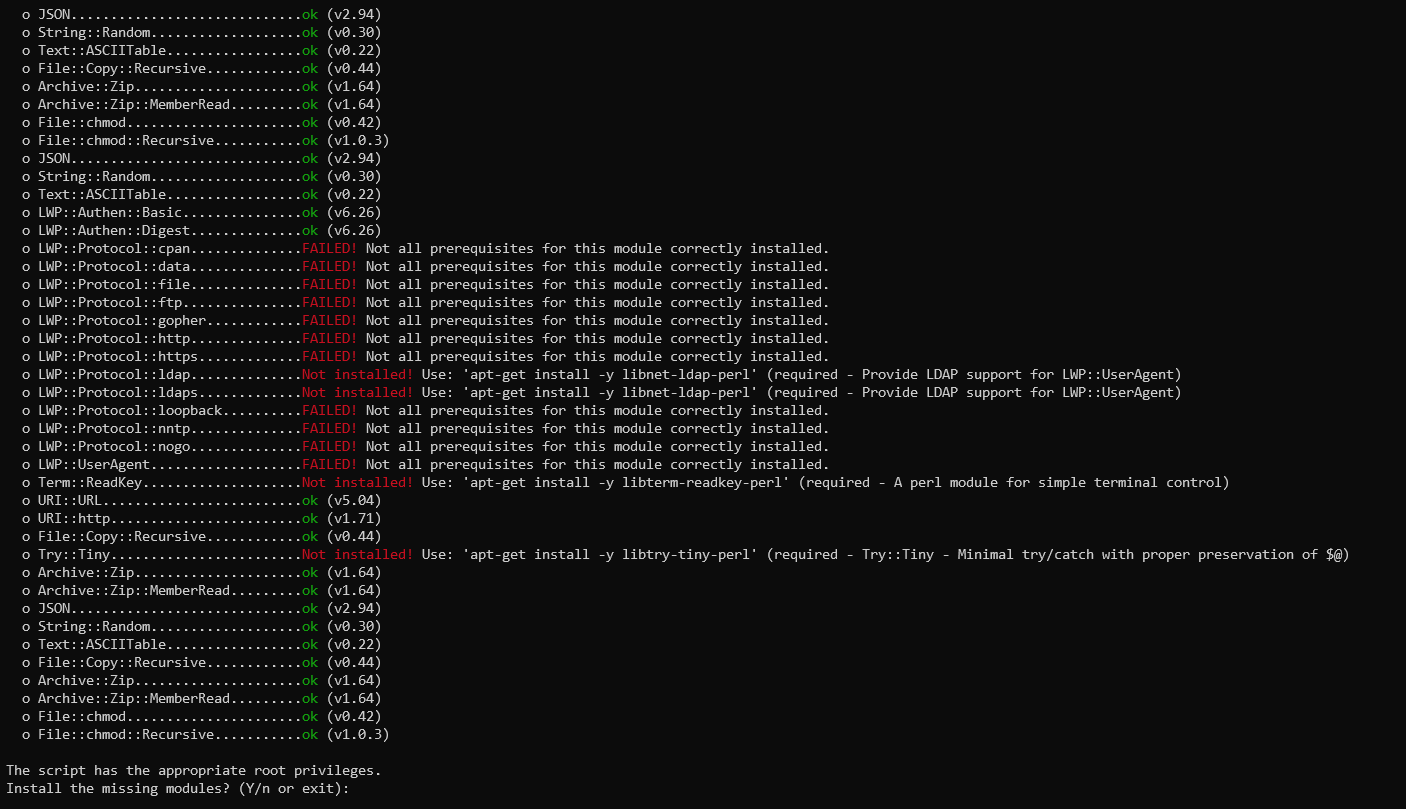
Answer: Y and wait until package manager finishes its work:
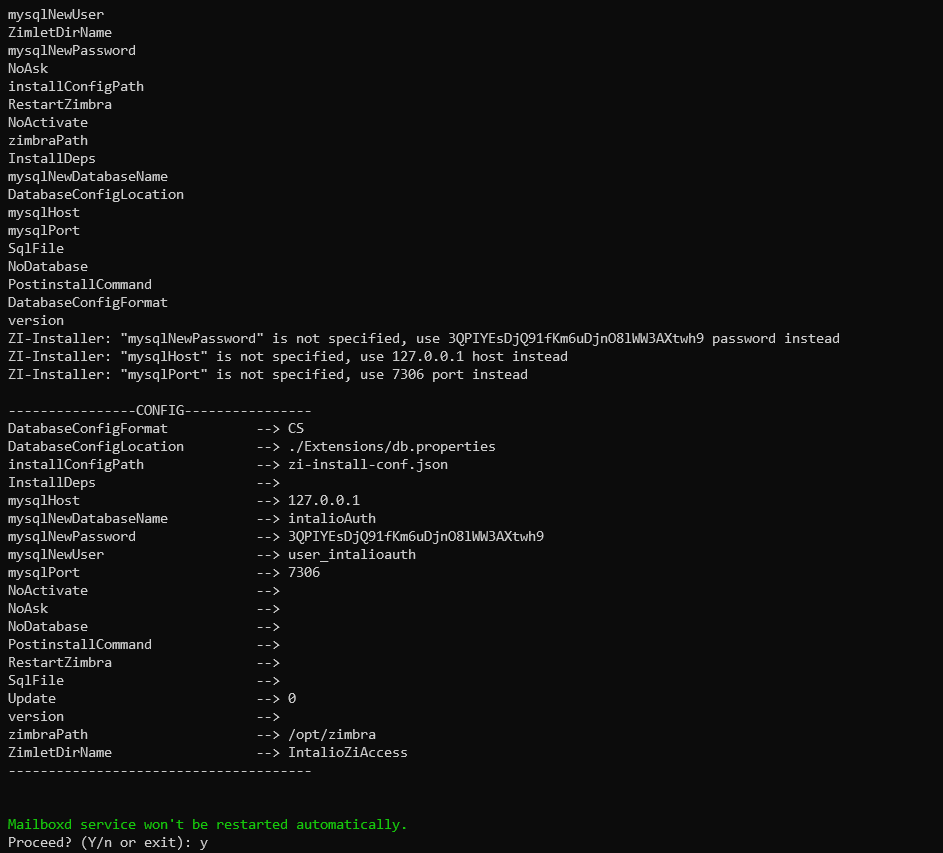
Type: Y and press Enter
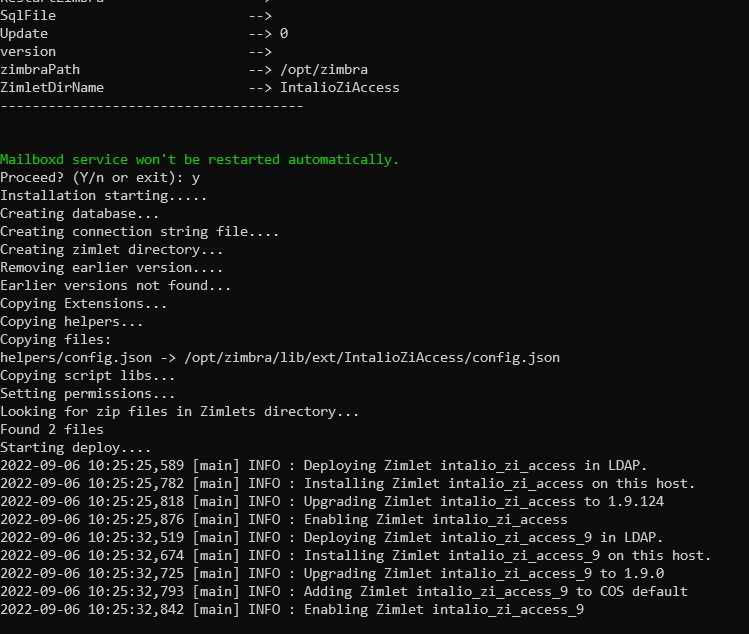
When the deployment process is done you will be asked to provide login and password that you can find in the license documents you received from us:

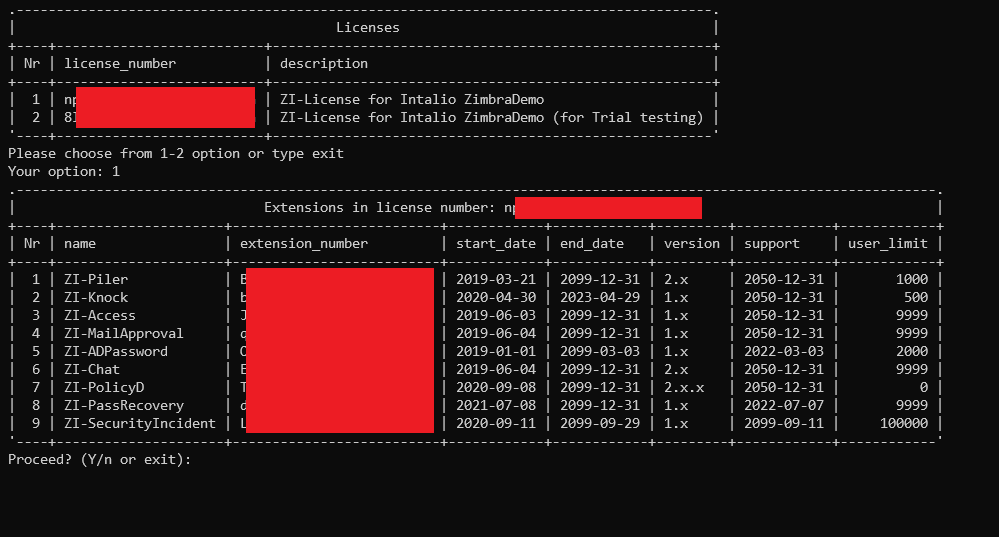
Choose the license number (usually you will see only one option), press Enter, verify that the details are correct and proceed by answering Y
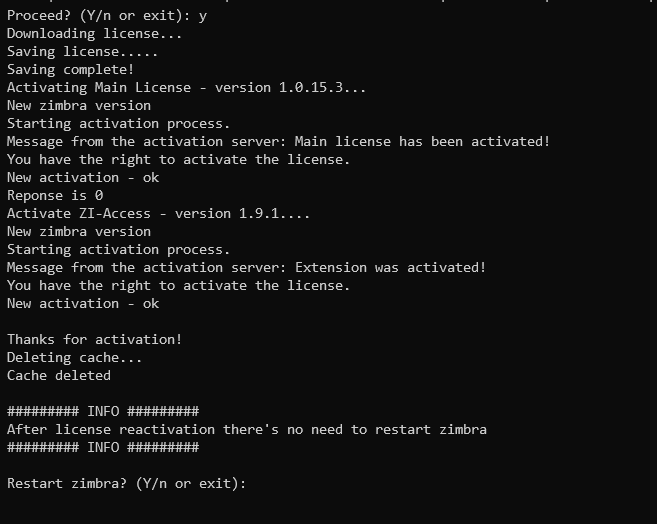
Your license will be dowloaded and activated. In the last step you will be asked to restart mailbox service. You can skip it (answer: N) and restart mailbox service manually later but until that zimlet will not work properly.
If you are going to install another zimlet right after this one it's not necessary to restart mailbox at this point and you can do it only once after installing the last one.
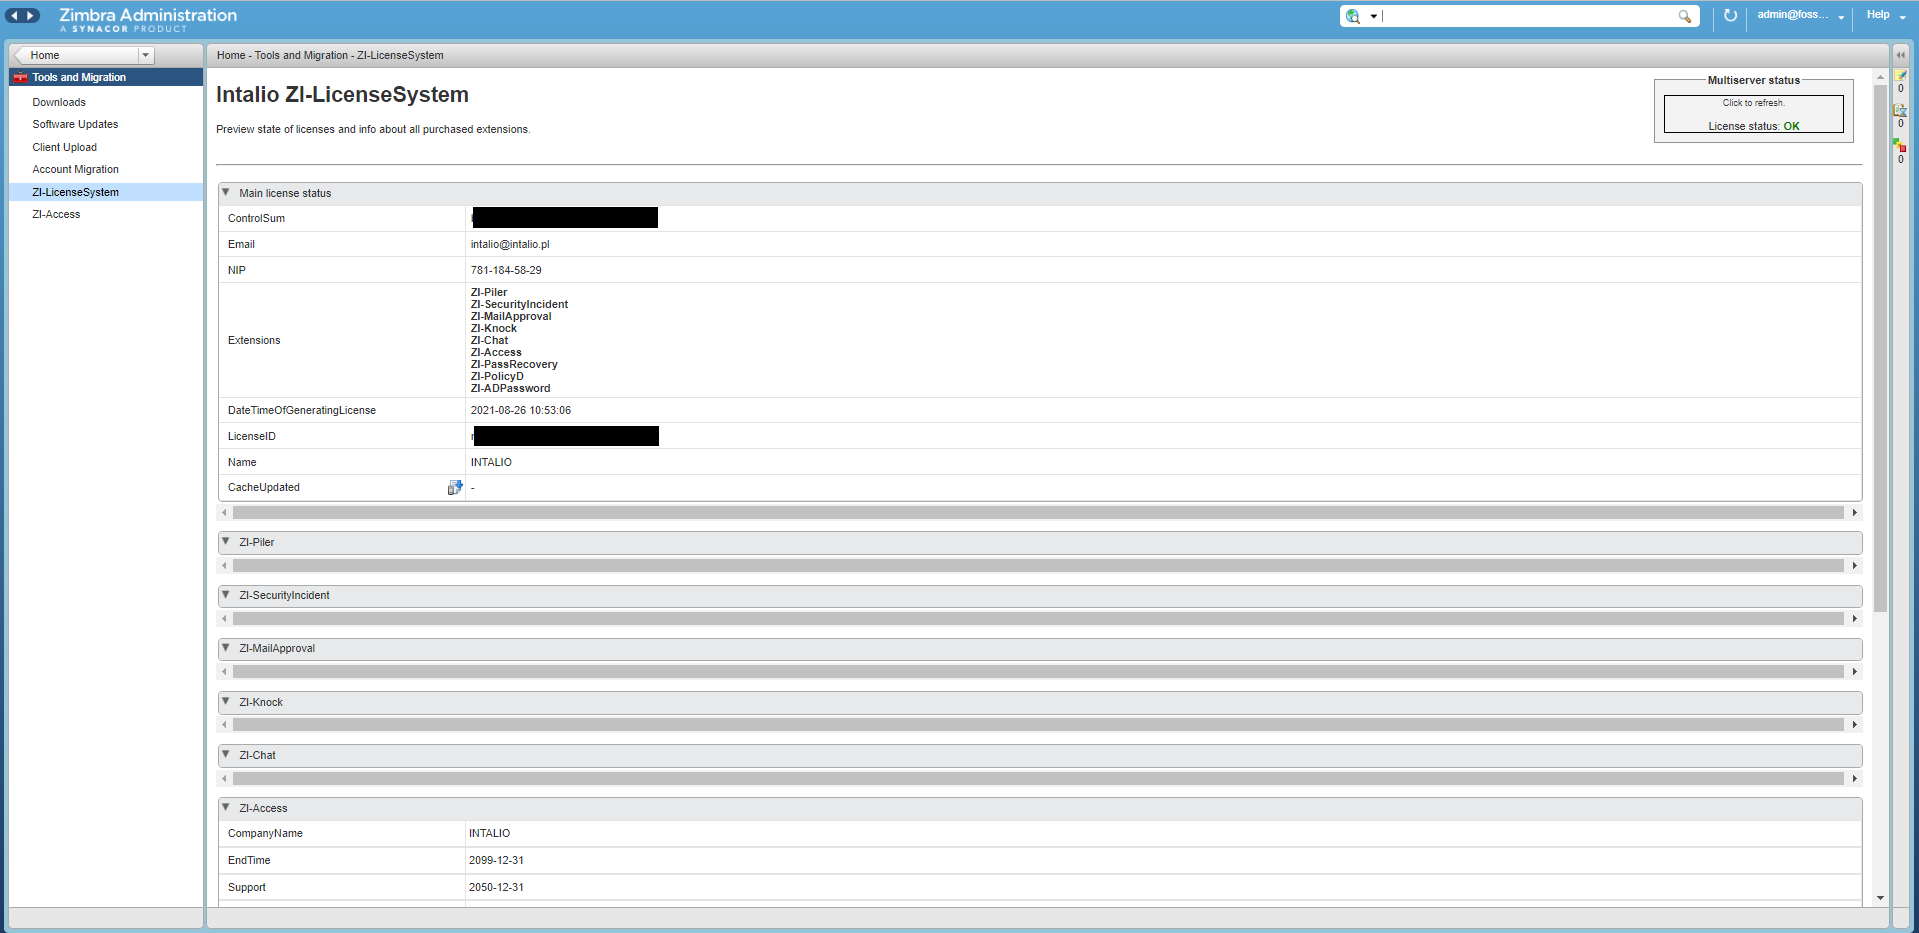
After the mailbox restart, zimlet should be installed. To check it, login on to the Administration Console of your ZCS Server and navigate to Tools and Migration > ZI-LicenseSystem where you can find details about granted licenses or Tools and Migration > ZI-Access where you can setup your zimlet.