XML Configuration
Widget's development process consists of a few simple steps to let your widget start work for you.
XML configuration file:
The core of the whole widget. This one specifies visibility for specific groups, determines in which module should widget be located and how should it be called in the panel. The syntax and layout configuration is similar to every XML OTRS configuration.
Example configuration file:
<?xml version="1.0" encoding="UTF-8" ?>
<otrs_config version="2.0" init="Application">
<Setting Name="CustomerFrontend::Module###>HelloWorldWidget" Required="1" Valid="1">
<Description Translatable="1">FrontendModuleRegistration for HelloWorld module.</Description>
<Navigation>Frontend::Customer::ModuleRegistration</Navigation>
<Value>
<Item ValueType="FrontendRegistration">
<Hash>
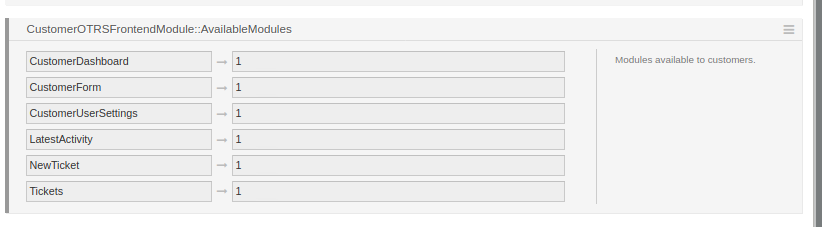
<!--Specifying an array of groups of users for whom should be module visible-->
<Item Key="Group">
<Array>
<Item>users</Item>
</Array>
</Item>
<!--Widget titel available in OTRS configuration settings-->
<Item Key="Title" Translatable="1">HelloWorldWidget</Item>
<!--Widget description available in OTRS configuration settings-->
<Item Key="Description" Translatable="1">HelloWorldWidget.</Item>
<Item Key="NavBarName">HelloWorldWidget</Item>
</Hash>
</Item>
</Value>
</Setting>
<!--Core configuration containing module settings and additional properties-->
<!--Setting location's name should be set in "OTRSFrontendModule::XYZ-->
<Setting Name="OTRSFrontendModule::TicketsWidget#1000" Required="0" Valid="1">
<!--Description visible in system configuration-->
<Description Translatable="1">Additional Ticket module widget for Intalio Customer Panel.</Description>
<Navigation>CustomerFrontend</Navigation>
<Value>
<Hash>
<!--JSON configuration file-->
<Item ValueType="Textarea" Key="schema">
{
"props": {
},
"id": "1000",
"widgetFile": "WIDGET_Contract.js",
"compiled": false,
"view" : "TicketPreview",
"slot" : "slot4",
"name": "Contracts"
}
</Item>
</Hash>
</Value>
</Setting>
</otrs_config>
Schema file:
The schema file is a JSON file. It specifies the most important aspects of the whole widget.
 {
   "props": {
     "predefined_property": true
   },
   "id": "1000",
   "widgetFile": "WIDGET_Contract.js",
   "compiled": false,
   "view" : "TicketPreview",
   "slot" : "slot4",
   "name": "Contracts"
}- <props> - specify predefined properties that could be referenced in the template file
- <id> - should be unique for every widget module
- <widgetFile> - the name of the template file - see more to do
- <view> - specify primary module where should widget be located. You can choose between multiple options starting from predefined modules ending up to your own custom modules. You can find a more detailed explanation on administration section. Available default views:
- <compiled> - ????????
- <slot> - this label specified place on the layout where should widget be put in the module.
The TicketPreview module enables you to specify the location of your widget in the template. Simply add query parameter /?dev=1
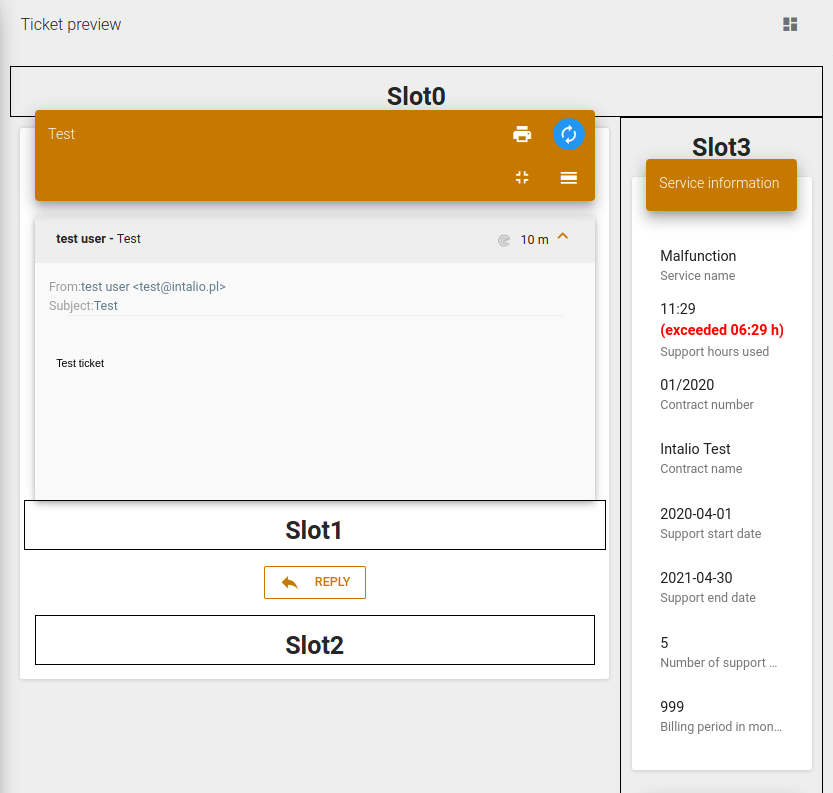
<slot> parameter works only in the TicketPreview module. It won't affect any other module.