ZI-SecurityIncident - Installation and Administration Guide
Installation
Requirements
- Zimbra 8.8.15
- ZI-LicenseSystem
ZI-LicenseSystem
Unpack installer archive file *.tar.gz in /var/tmp/ (as root):
mv /root/ZI-LicenseSystem-x.x.tar.gz /var/tmp/
cd /var/tmp/
tar xzvf ZI-LicenseSystem-x.x.tar.gz
cd /var/tmp/ZI-LicenseSystem-x.x
Run installation script (as root):
perl ZI-Installer --instal-depsAt the beginning required perl packages will be installed:
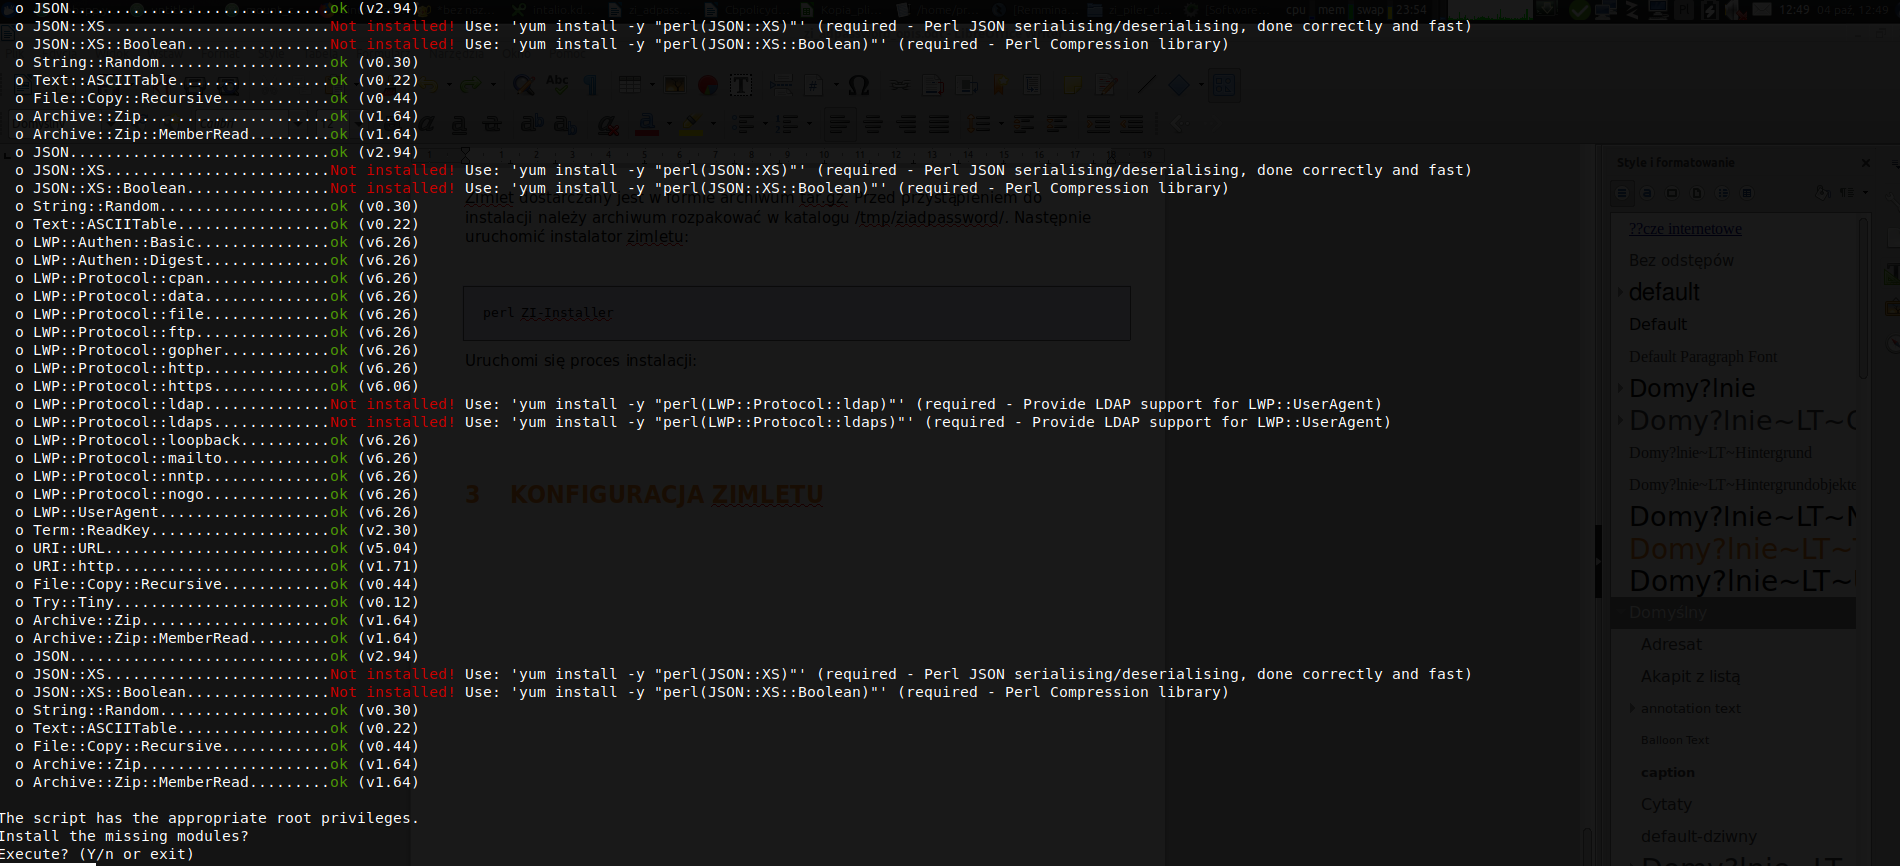
Answer: Y

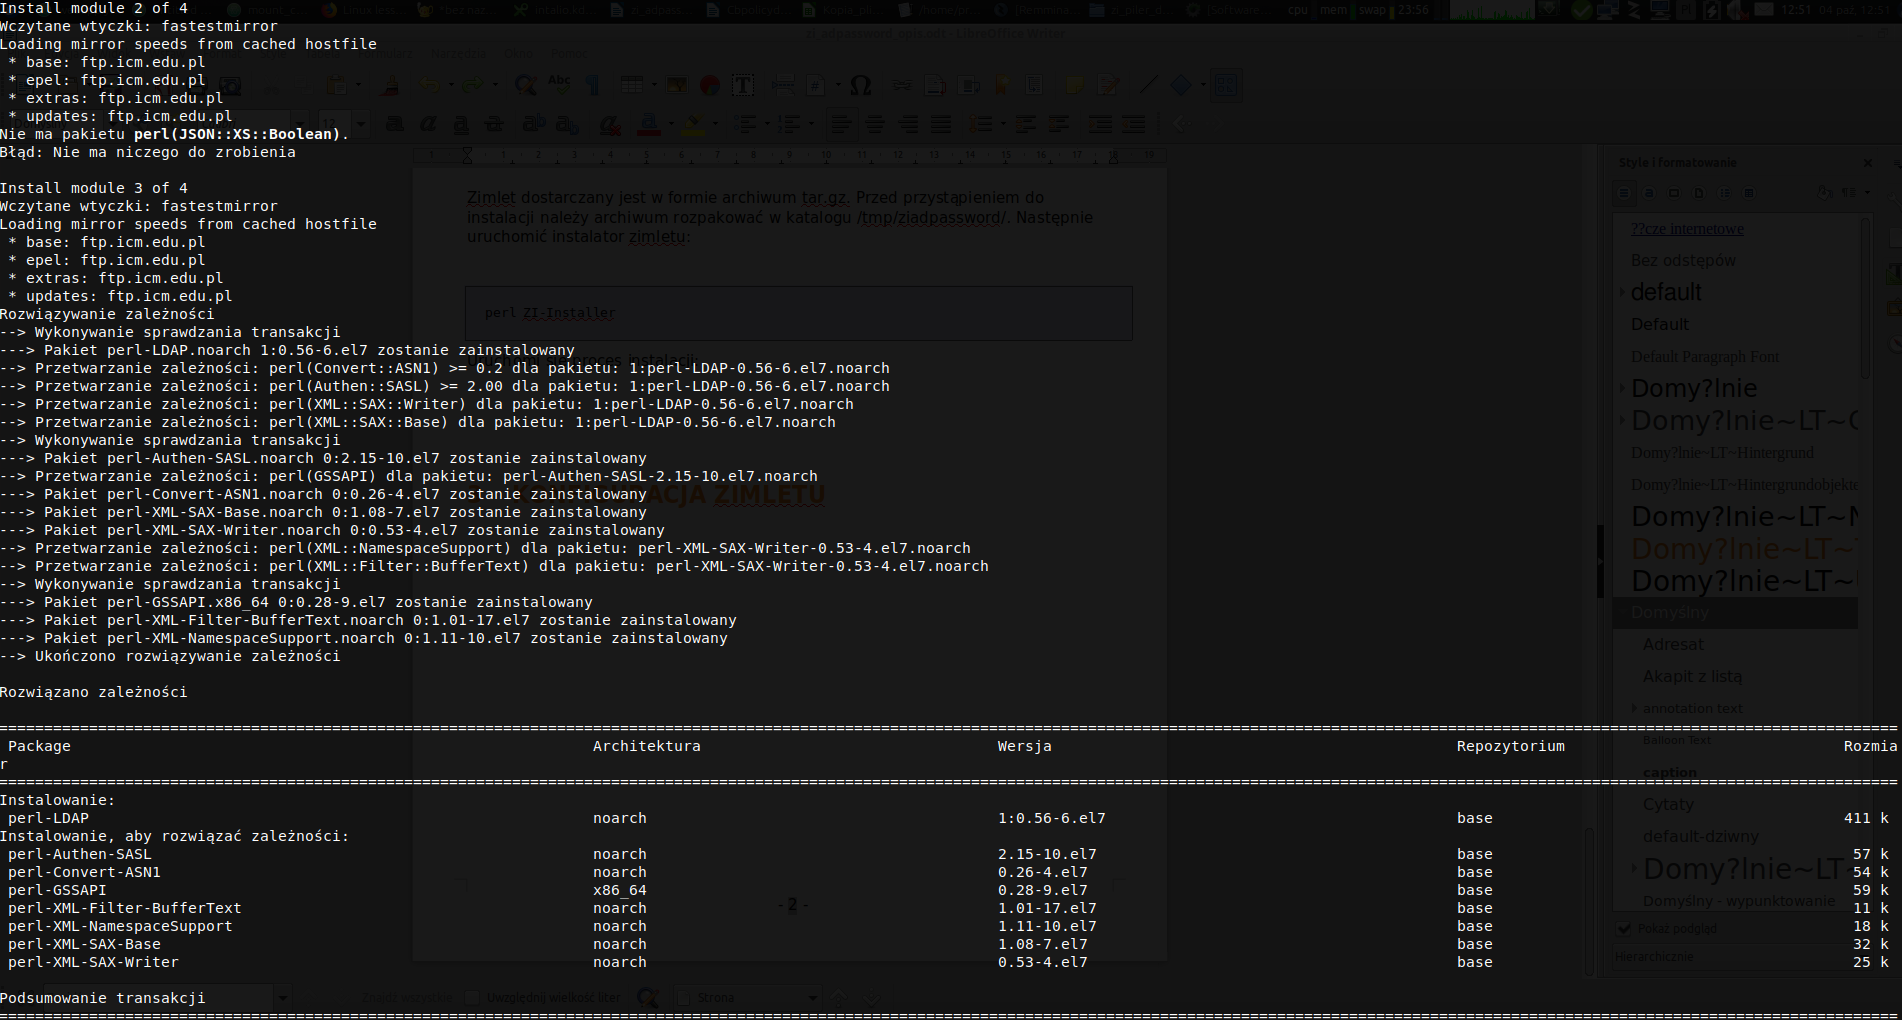
Press: Y


Answer: Y

Answer: Y

Enter login and password received with the license.
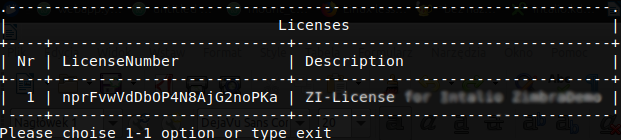
Choose: 1
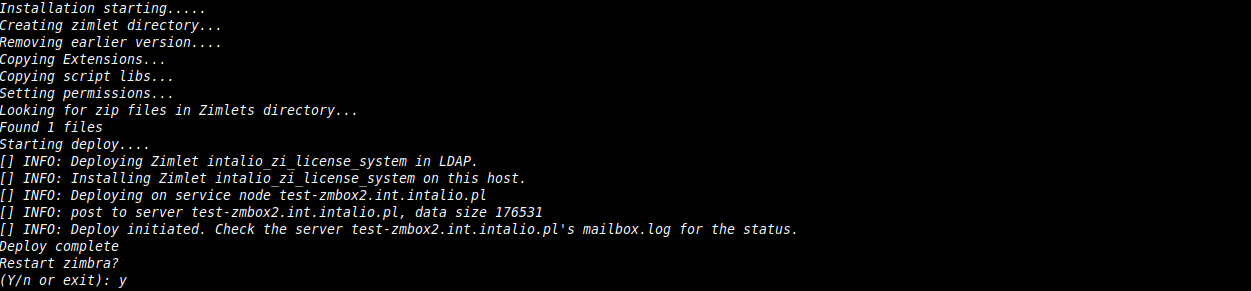
Choose: Y
If You answer Y, the zimbra mailbox will be restarted
After the mailbox restart, zimlet should be installed. Now, ZI-SecurityIncident can be installed.
ZI-LicenseSystem must be installed on all mailboxes
Zi-SecurityIncident
Unpack installer archive file *.tar.gz in /var/tmp/ (as root):
mv /root/ZI-SecurityIncident-x.x.tar.gz /var/tmp/
cd /var/tmp/
tar xzvf ZI-SecurityIncident-x.x.tar.gz
cd /var/tmp/ZI-SecurityIncident-x.x
Run installation script (as root):
perl ZI-Installer --instal-deps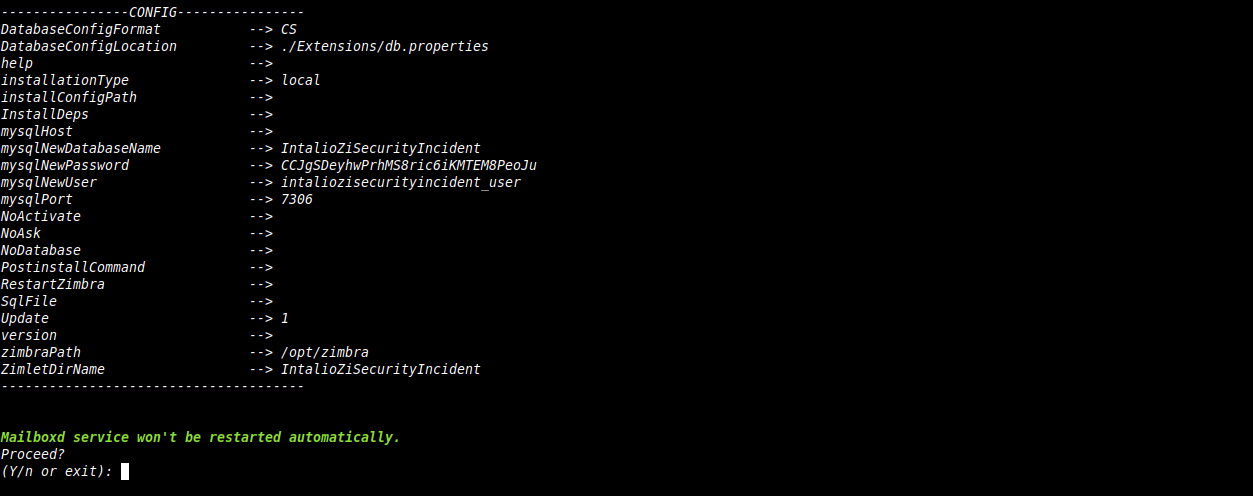
Type: Y
Configuration
Log in to the Zimbra Administration Console. The ZI-SecurityIncident configuration panel is available on Main Page -> Migration and tools -> ZI-SecurityInciden
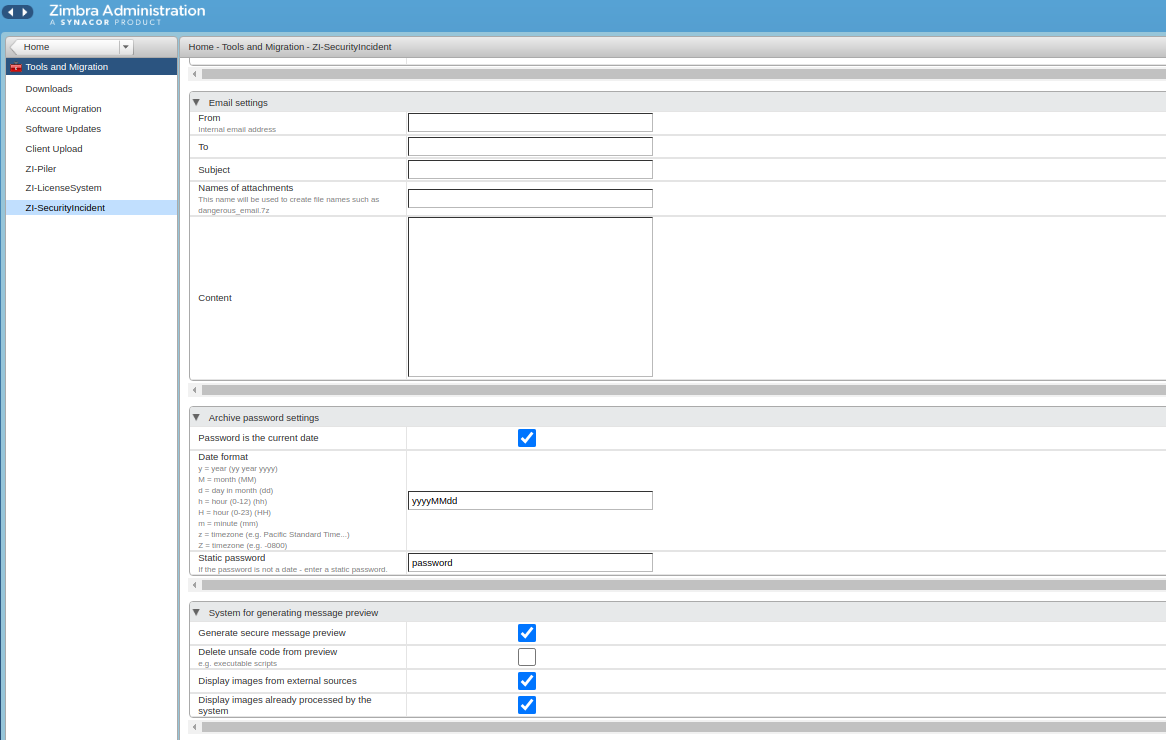
Email settings
- From - sender of the notification email
- To - recipient of the notification email
- Subject - subject of the notification email
- Names of attachments - names of the unsafe attachments
- Content - content of the message
Archive password settings
- Password is the current date - password of the zipped attachment is the date of the received message
- Date format
- Static password - password of the zipped attachment when option Password is the current date is unchecked
System for generating message preview
- Generate secure message preview - if set, unsafe message is converted to pdf
- Delete unsafe code from preview - if set, unsafe code is removed from preview
- Display images from external sources - if set, images from external sources will be included in the processed message
- Display images already processed by the system - if set, images in message will be processed