Configuration
Introduction
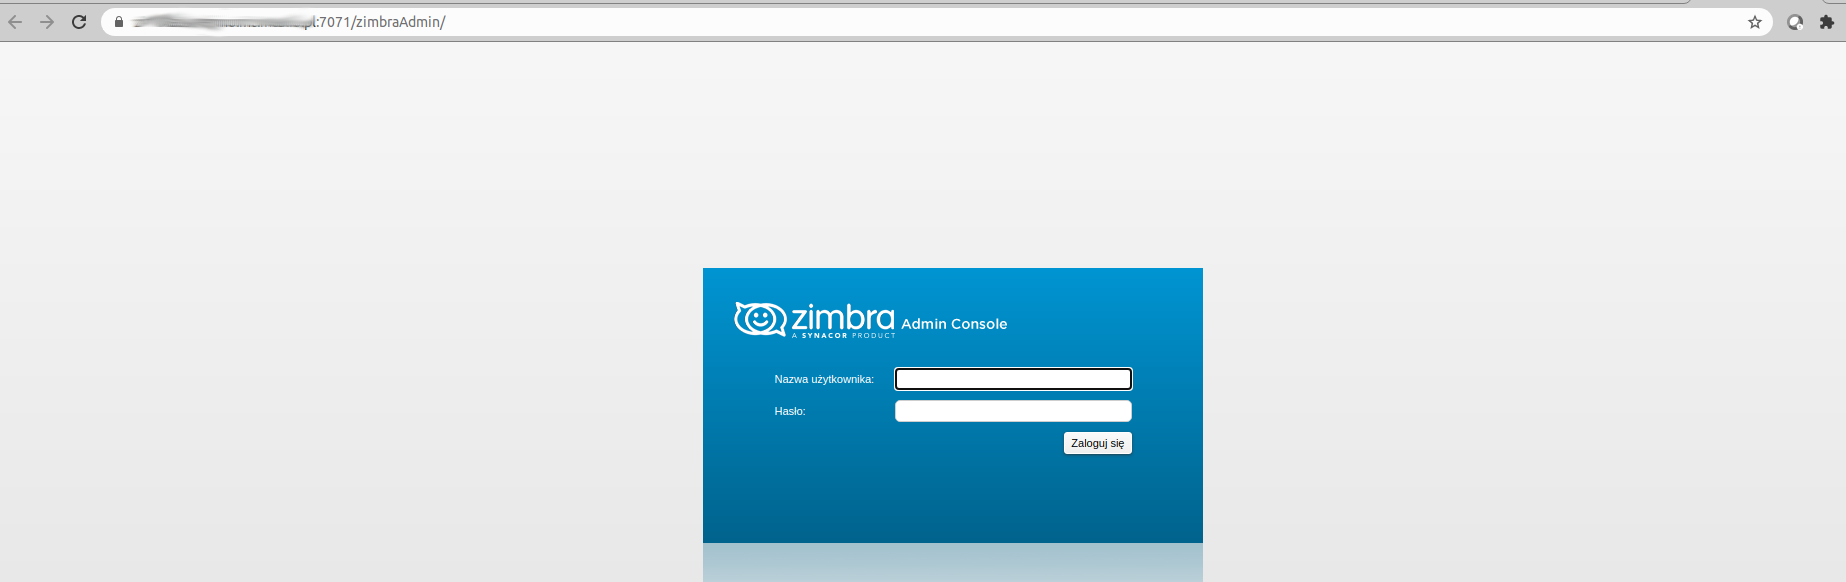
ZI-KNOCK Zimlet is an easy-to-use tool for securing access to the Zimbra system admin panel. Without activating the Zimlet in the administrator mail account, access to the admin panel is permanently blocked. Access to the panel from www.mail.companydomaine.com:7071 is not available. After activation the Zimlet, access to the admin panel is opened for a configured period of time.
Access control to the admin panel is performed by Knocd - well known linux application.
Knockd is a port knocking application, which dynamically change the firewall rules evoked by the configured port scanning sequence.
Zimlet configuration process has two stages:
- Knockd configuration on the ZCS Zimbra server
- ZI-Knock Zimlet configuration
Knockd configuration in a Linux system
At this documantation we assume:
- installation is performed on the Ubuntu distribution
- iptables are installed
- iptables block administration port 7071 or 9071 by default
When Knockd is installed on mbox then port 7071 is configured to be blocked on a firewall. When is installed on proxy server port 9071 should be blocked on the firewall.
The first step is to install Knockd:
apt install knockdAfter that we have to edit file /etc/knockd.conf:
[options]
UseSyslog
Interface = ens160

[openZimbraAdmin]
sequence = 7000,7001,7002
seq_timeout = 25
command = /sbin/iptables -I INPUT 1 -s %IP% -p tcp --dport 7071 -j ACCEPT
tcpflags = syn
cmd_timeout = 60
stop_command = /sbin/iptables -D INPUT -s %IP% -p tcp --dport 7071 -j ACCEPT
In line 6 we assume the port scanning seqeunce 7000 -> 7001 -> 7002. After that for a 60s port 7071 will be opened.
Finally we enable the knockd in a file /etc/default/knockd:
################################################
#
# knockd's default file, for generic sys config
#
################################################

# control if we start knockd at init or not
# 1 = start
# anything else = don't start
#
# PLEASE EDIT /etc/knockd.conf BEFORE ENABLING
START_KNOCKD=1
by adding START_KNOCKD=1.
After all we resrt the service:
service knockd restartTo verify Knockd configuration we evoke Knock application on other host as follows:
knock 172.17.0.143 7000 7001 7002where 172.17.0.143 is a IP of the server with installed Knockd.
On the server we should see in /var/log/syslog:
Apr 10 16:45:19 zimbraosedemo2 knockd: 172.17.0.1: openZimbraAdmin: Stage 1
Apr 10 16:45:19 zimbraosedemo2 knockd: 172.17.0.1: openZimbraAdmin: Stage 2
Apr 10 16:45:19 zimbraosedemo2 knockd: 172.17.0.1: openZimbraAdmin: Stage 3
Apr 10 16:45:19 zimbraosedemo2 knockd: 172.17.0.1: openZimbraAdmin: OPEN SESAME
Apr 10 16:45:19 zimbraosedemo2 knockd: openZimbraAdmin: running command: /sbin/iptables -I INPUT 1 -s 172.17.0.1 -p tcp --dport 7071 -j ACCEPT
Zimlet configuration
We assume that admin account is user1@domain.com and the Zimlet is enabled for this user.
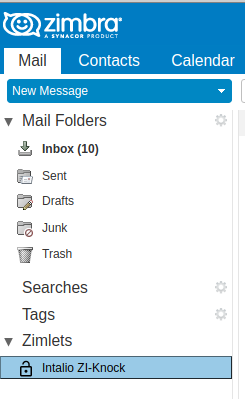
To configure the Zimlet, user have to:
- log into user1@domain.com,
- double click on the Intalio ZI-Knock icon,

- Fill the Ports and IP fields on Intalio ZI-Knock preferences window

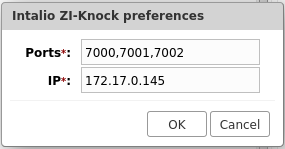
Where in a field Ports should be those configured in the Knockd.
In a field IP should be the address of the Zimbra Proxy Server.
It is also possible to configure Zimlet from CLI. To do this, user have to log into the console of the ZCS ZImbra server, and as zimbra user evoke commands:
zmprov ma user1@domain.com +zimbraZimletUserProperties "intalio_zi_knock:IntalioPortKnocking_ports:7001,7002,7003"
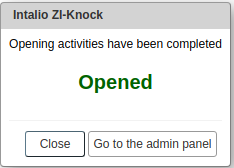
zmprov ma user1@domain.com +zimbraZimletUserProperties "intalio_zi_knock:IntalioPortKnocking_ip:172.17.0.145"After configuration process user1@domain.com can open access to the Administrator Panel by single click on Intalio ZI-Knock icon, than he should click "Go to the admin panel".
Finally user should see login panel: