You can use the **Filter for Items** field to narrow down visible options.
[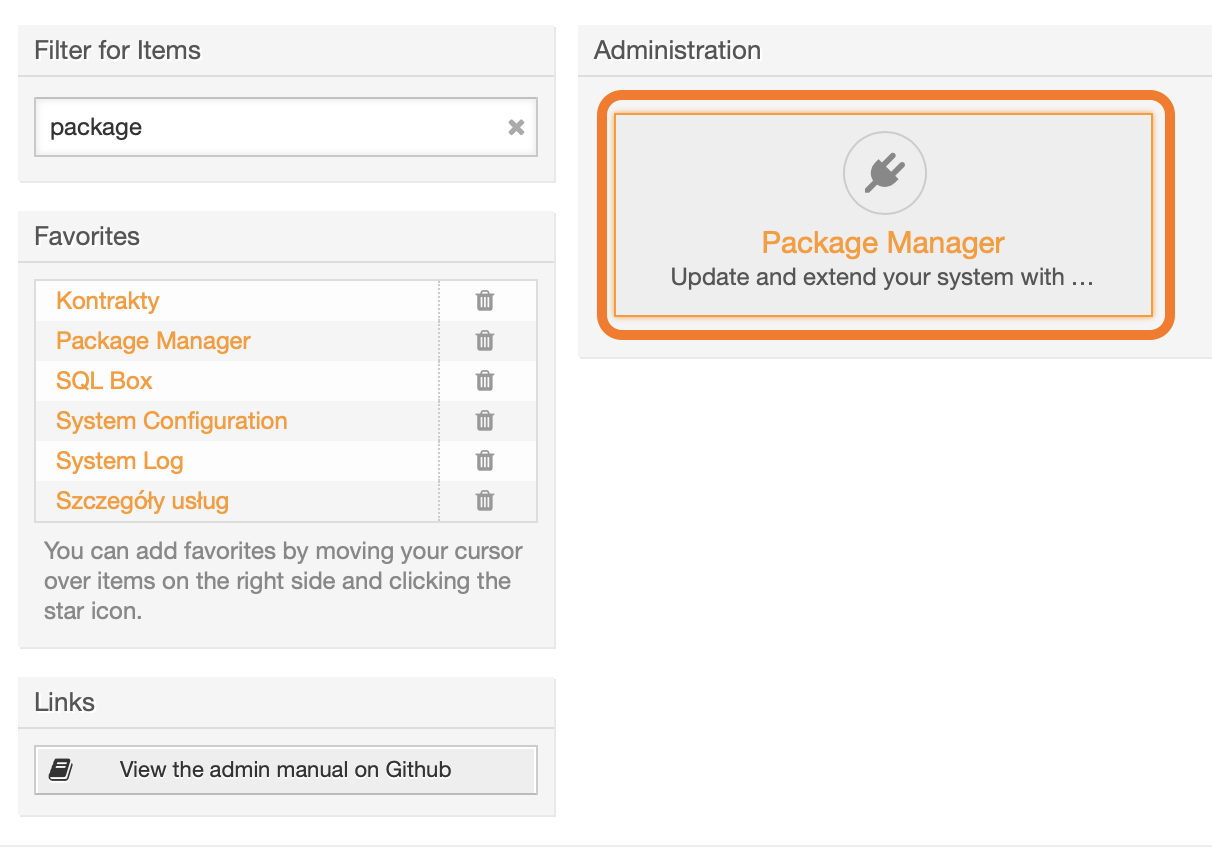](https://docs.intalioservices.com/uploads/images/gallery/2020-04/CEmLfHTOLr7IXzum-image-1586871252743.png) --- In the **Actions** block on the left, click *Choose file,* upload the **opm** file and click *Install Package*. [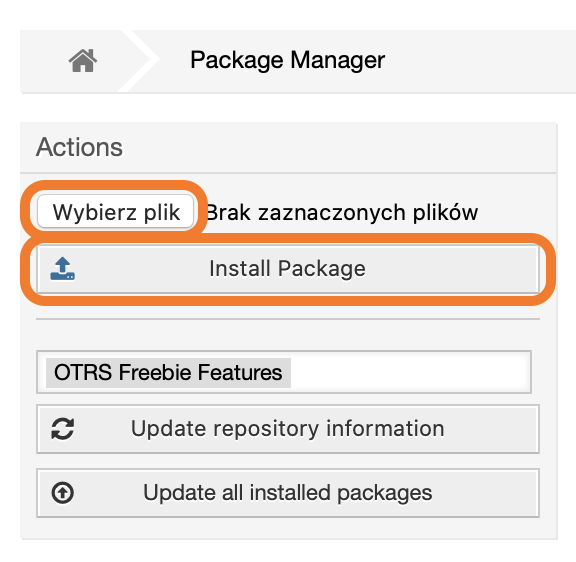](https://docs.intalioservices.com/uploads/images/gallery/2020-04/GbZd1cIKLUxBxxjH-image-1586871458563.png) --- If you see a notification about an unverified package, click Continue to proceed with the installation. [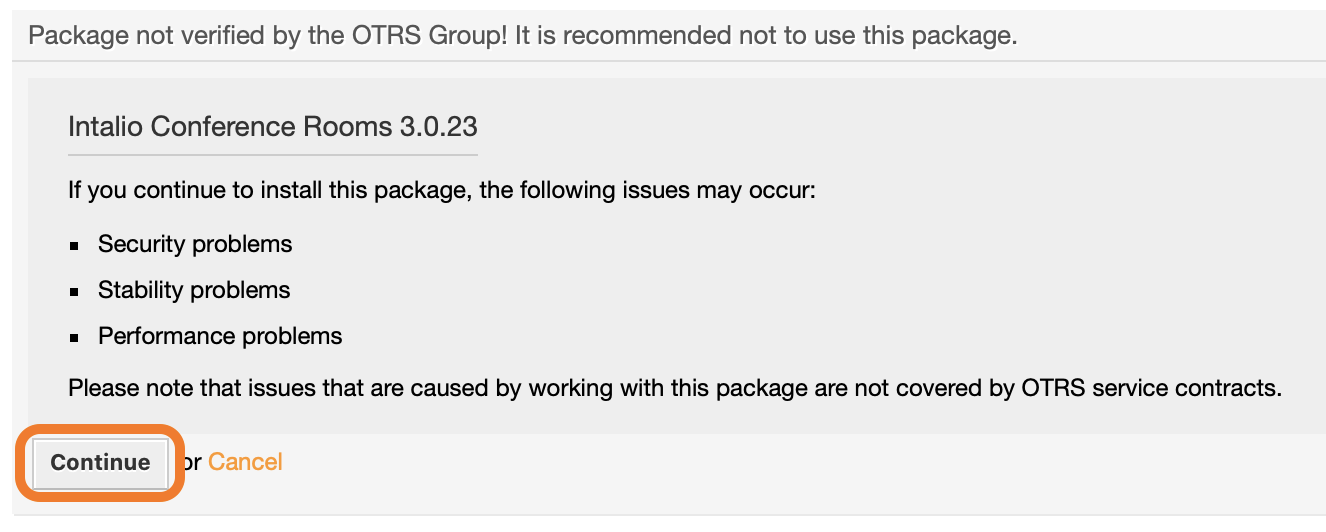](https://docs.intalioservices.com/uploads/images/gallery/2020-04/xBZeQ73ADUbF9diD-image-1586871940524.png) --- If the installation was successful, you should see a welcome message on the screen. [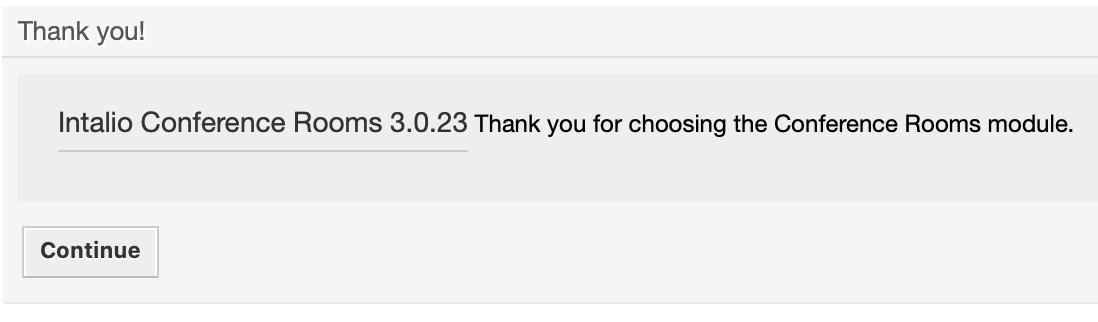](https://docs.intalioservices.com/uploads/images/gallery/2020-04/w5BtkS3iarj3lpKQ-image-1586872026113.png) The new tab is also visible in the main navigation bar. [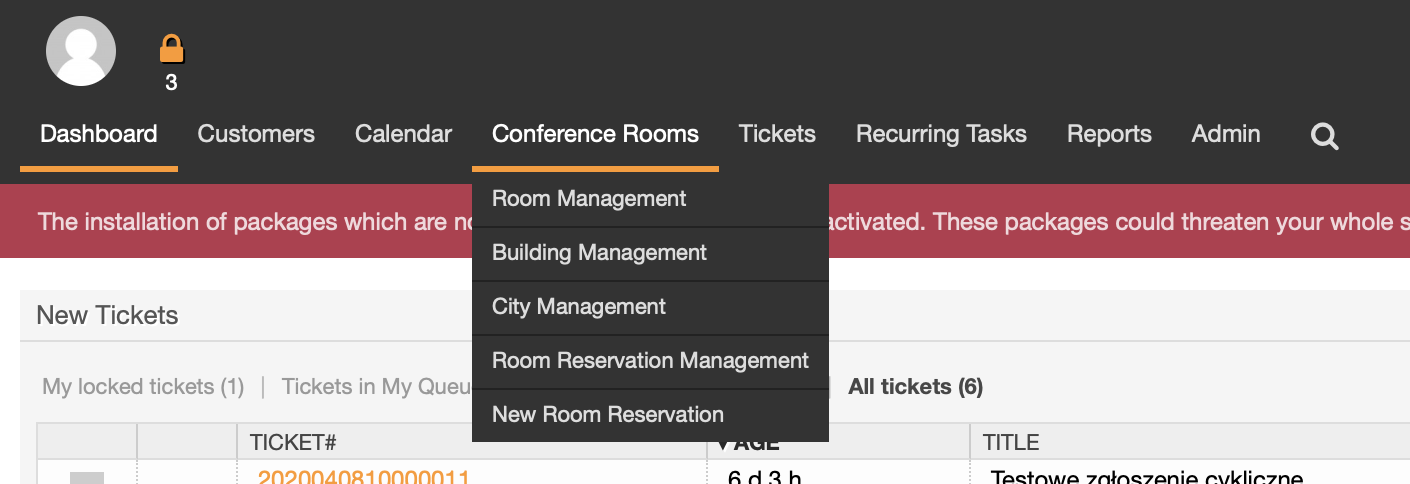](https://docs.intalioservices.com/uploads/images/gallery/2020-04/BbE8W4VyNX2180mH-image-1586873909116.png) ---Please note that the installation process might take a while. As long as the installation process is not completed the yellow bar will be displayed on top of the page.
[](https://docs.intalioservices.com/uploads/images/gallery/2020-04/DccjfBMY7u6a1zoJ-image-1586873724467.png) # Dynamic Fields Configuration The correct configuration of dynamic fields will allow users to see more information about reservations on the ticket view. ### Creating a hyperlink for ReservationID dynamic field --- Open the *Admin* dropdown menu and pick *Overview*. [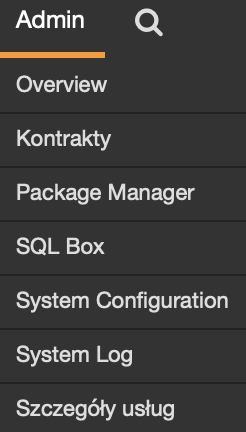](https://docs.intalioservices.com/uploads/images/gallery/2020-04/42prHOXJzZKqMOo8-image-1586944929727.png) --- Go to *Dynamic Fields* in *Processes & Automation* section --- Click on the ReservationID row in the list --- Add the URL for reservation in Show link field Example: `https://example.com/roomReservations/Dashboard?reservationId=[% Data.ReservationID | uri %]&sessionId=[% Env("SessionID") %]` Click *Save and finish.* [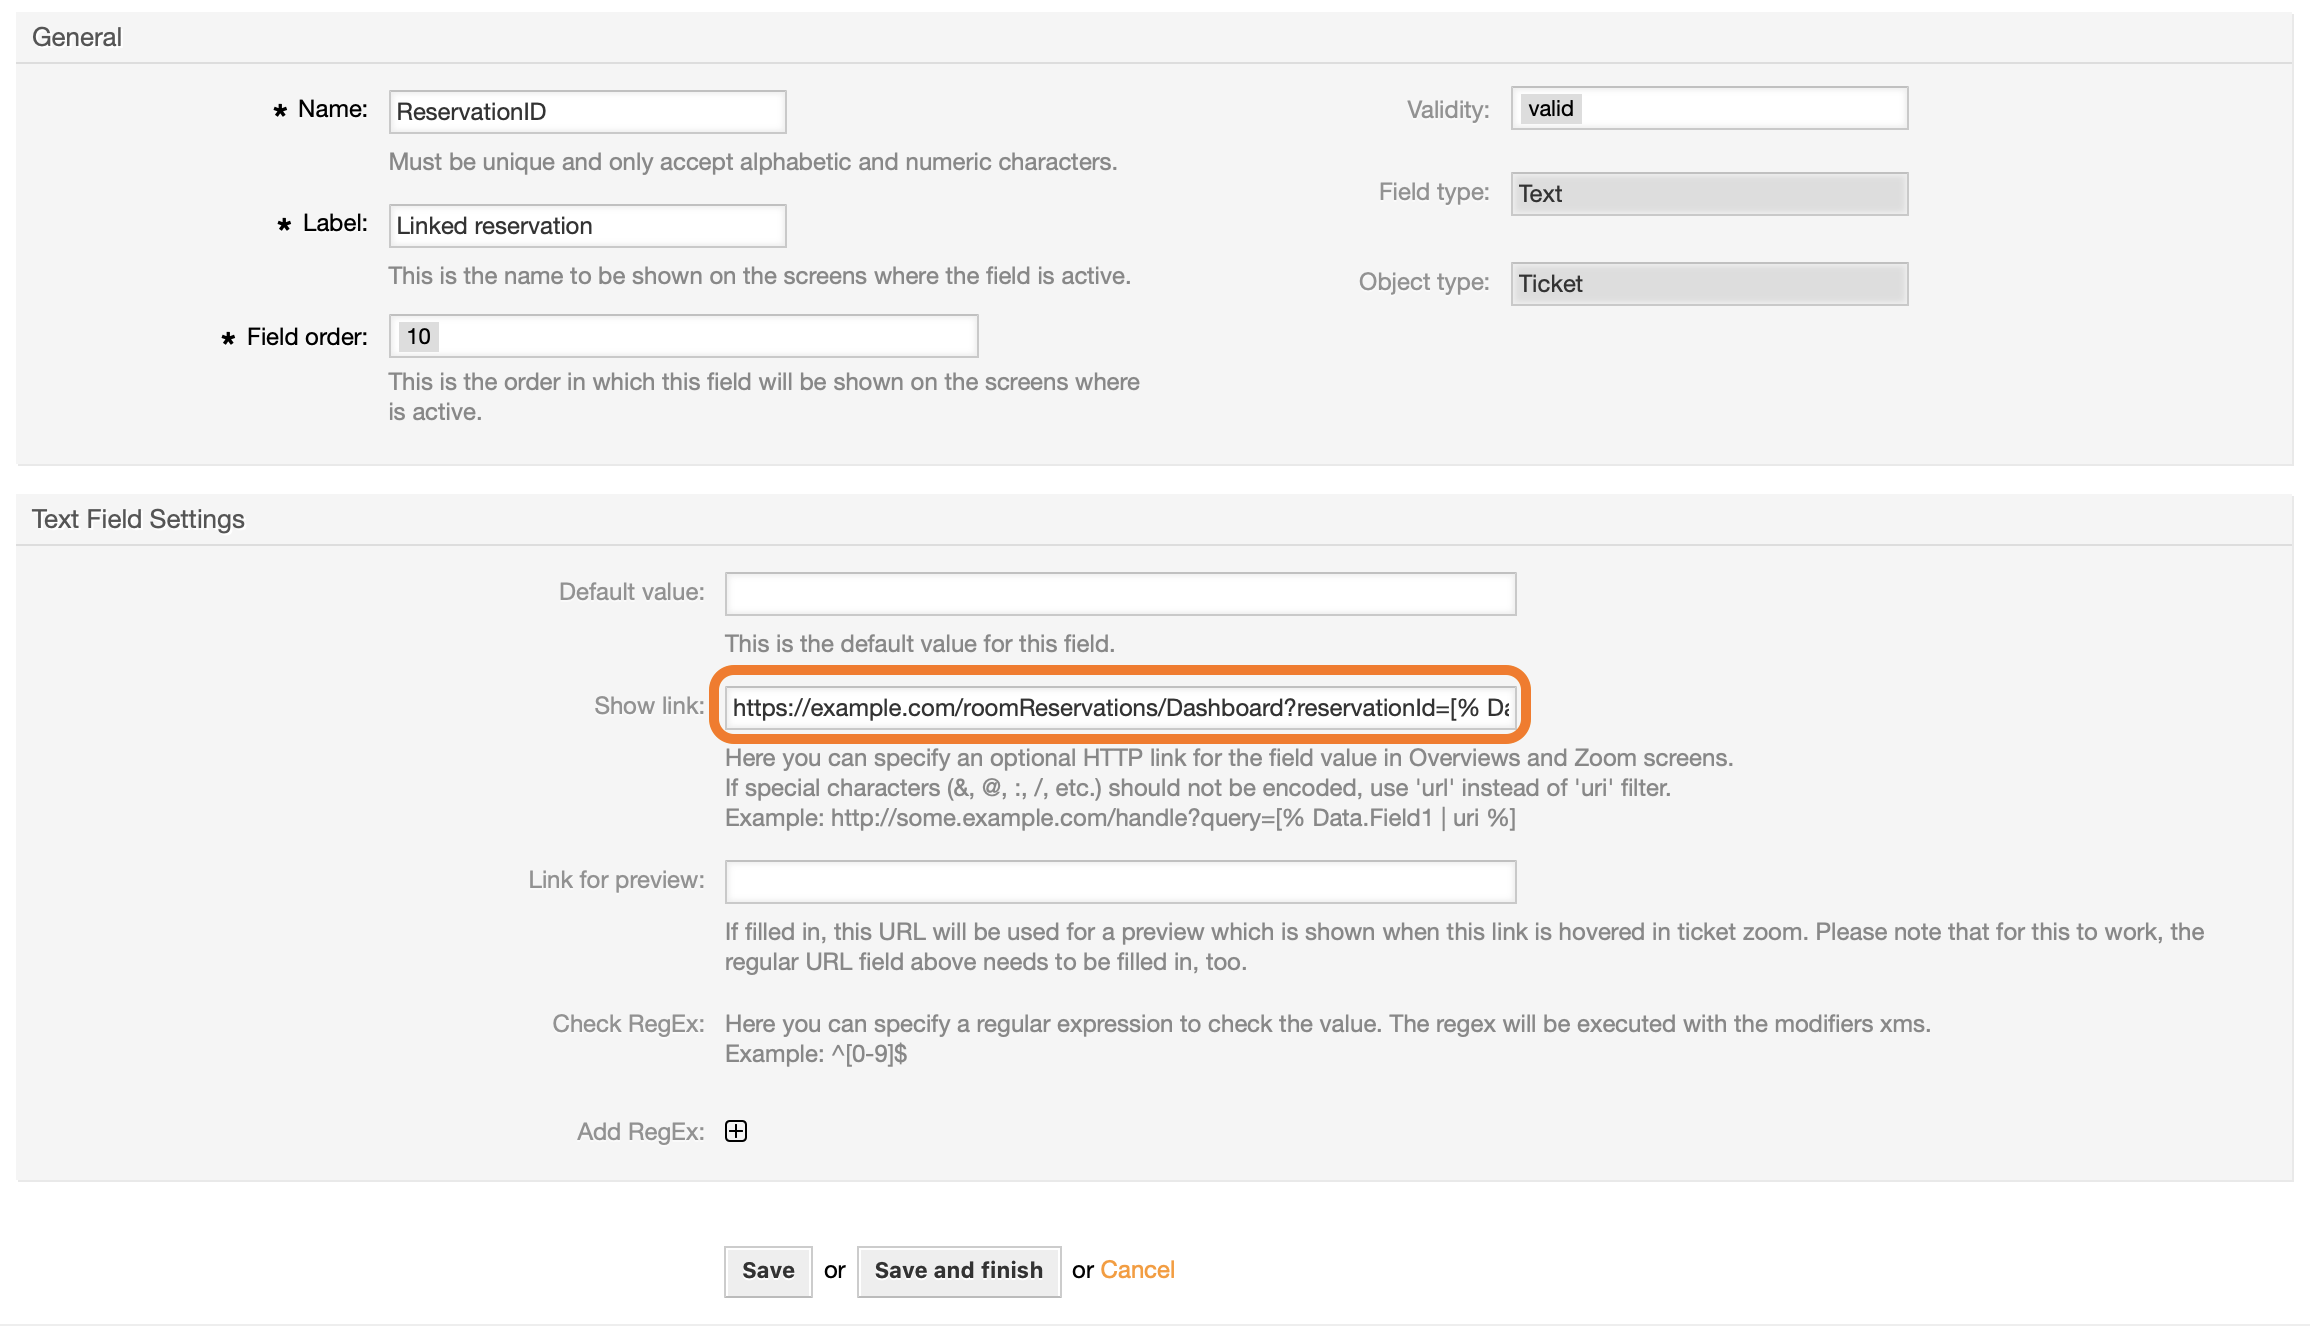](https://docs.intalioservices.com/uploads/images/gallery/2020-04/KZvYF6BUwNq7r8Qz-image-1586945884568.png) --- ### Adding dynamic fields visibility to Ticket view Open the *Admin* dropdown menu and pick *System Configuration*. --- In the search bar type `AgentTicketZoom###DynamicField` and click **Enter.** --- We recommend setting visibility for the following dynamic fields: - ReservationID - ReservationAdditionalDescription - ReservationNumberOfPeople - ReservationIsManagerPresent 1\. Add new entry by clicking the **Plus** sign. 2\. Enter **Dynamic Field Name** (e.g. ReservationID) and enable it. 3\. Repeat this process for other fields Save the settings by clicking checkmark. [](https://docs.intalioservices.com/uploads/images/gallery/2020-04/DA9DZVu8mm4XdZaM-image-1586947210397.png) ### Settings deployment Every changes in OTRS configuration needs to be deployed. --- If you have undeployed settings you should see a yellow bar under the main menu. Click it and you will be forwarded to the deyployment page. [](https://docs.intalioservices.com/uploads/images/gallery/2020-04/nRRkw03G7SmdJfjr-image-1586947831723.png) If you don't see a yellow bar go to the *Admin / System configuration / Deployment*. [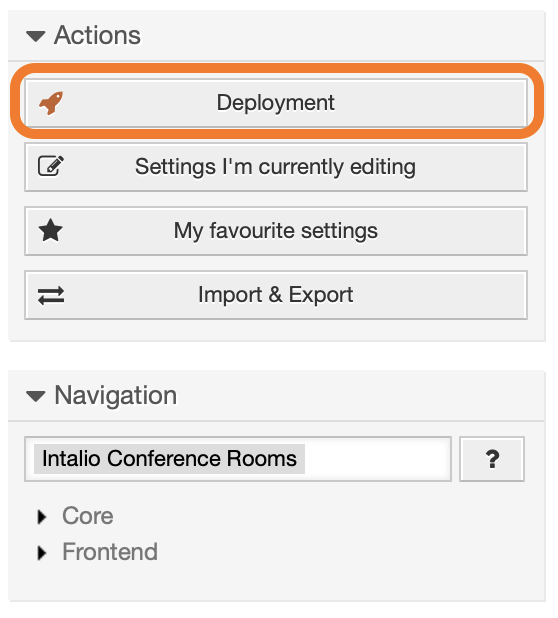](https://docs.intalioservices.com/uploads/images/gallery/2020-04/sblfMOQB7NPHwYe6-image-1586947882529.png) --- Check out the settings that you want to deploy (checked by default) and click **Deploy selected changes** [](https://docs.intalioservices.com/uploads/images/gallery/2020-04/4ZEHe3rSCeapPS4w-image-1586948012653.png) --- Write a comment about the changes that you made and click **Deploy now**. From now on, information saved in the added dynamic fields will be visible in the ticket, in the "Ticket details".